Ceramic Digital Print
I wanted to use ceramics as a carrier for the images I was taking, so I tried digital printing through ceramics to get the images onto the ceramics.
Firstly I fired some ceramics in different forms with good glazes. Some of them used white regular glazes and some used coloured glazes.

I took some images through the lens obtained by heating and bending the acrylic and asked James to assist in importing them into the computer for printing.


Printing is a two-step process, starting with printing the pattern onto paper using a glaze printer, before transferring it onto special transfer paper.


The finished printout is shown below.
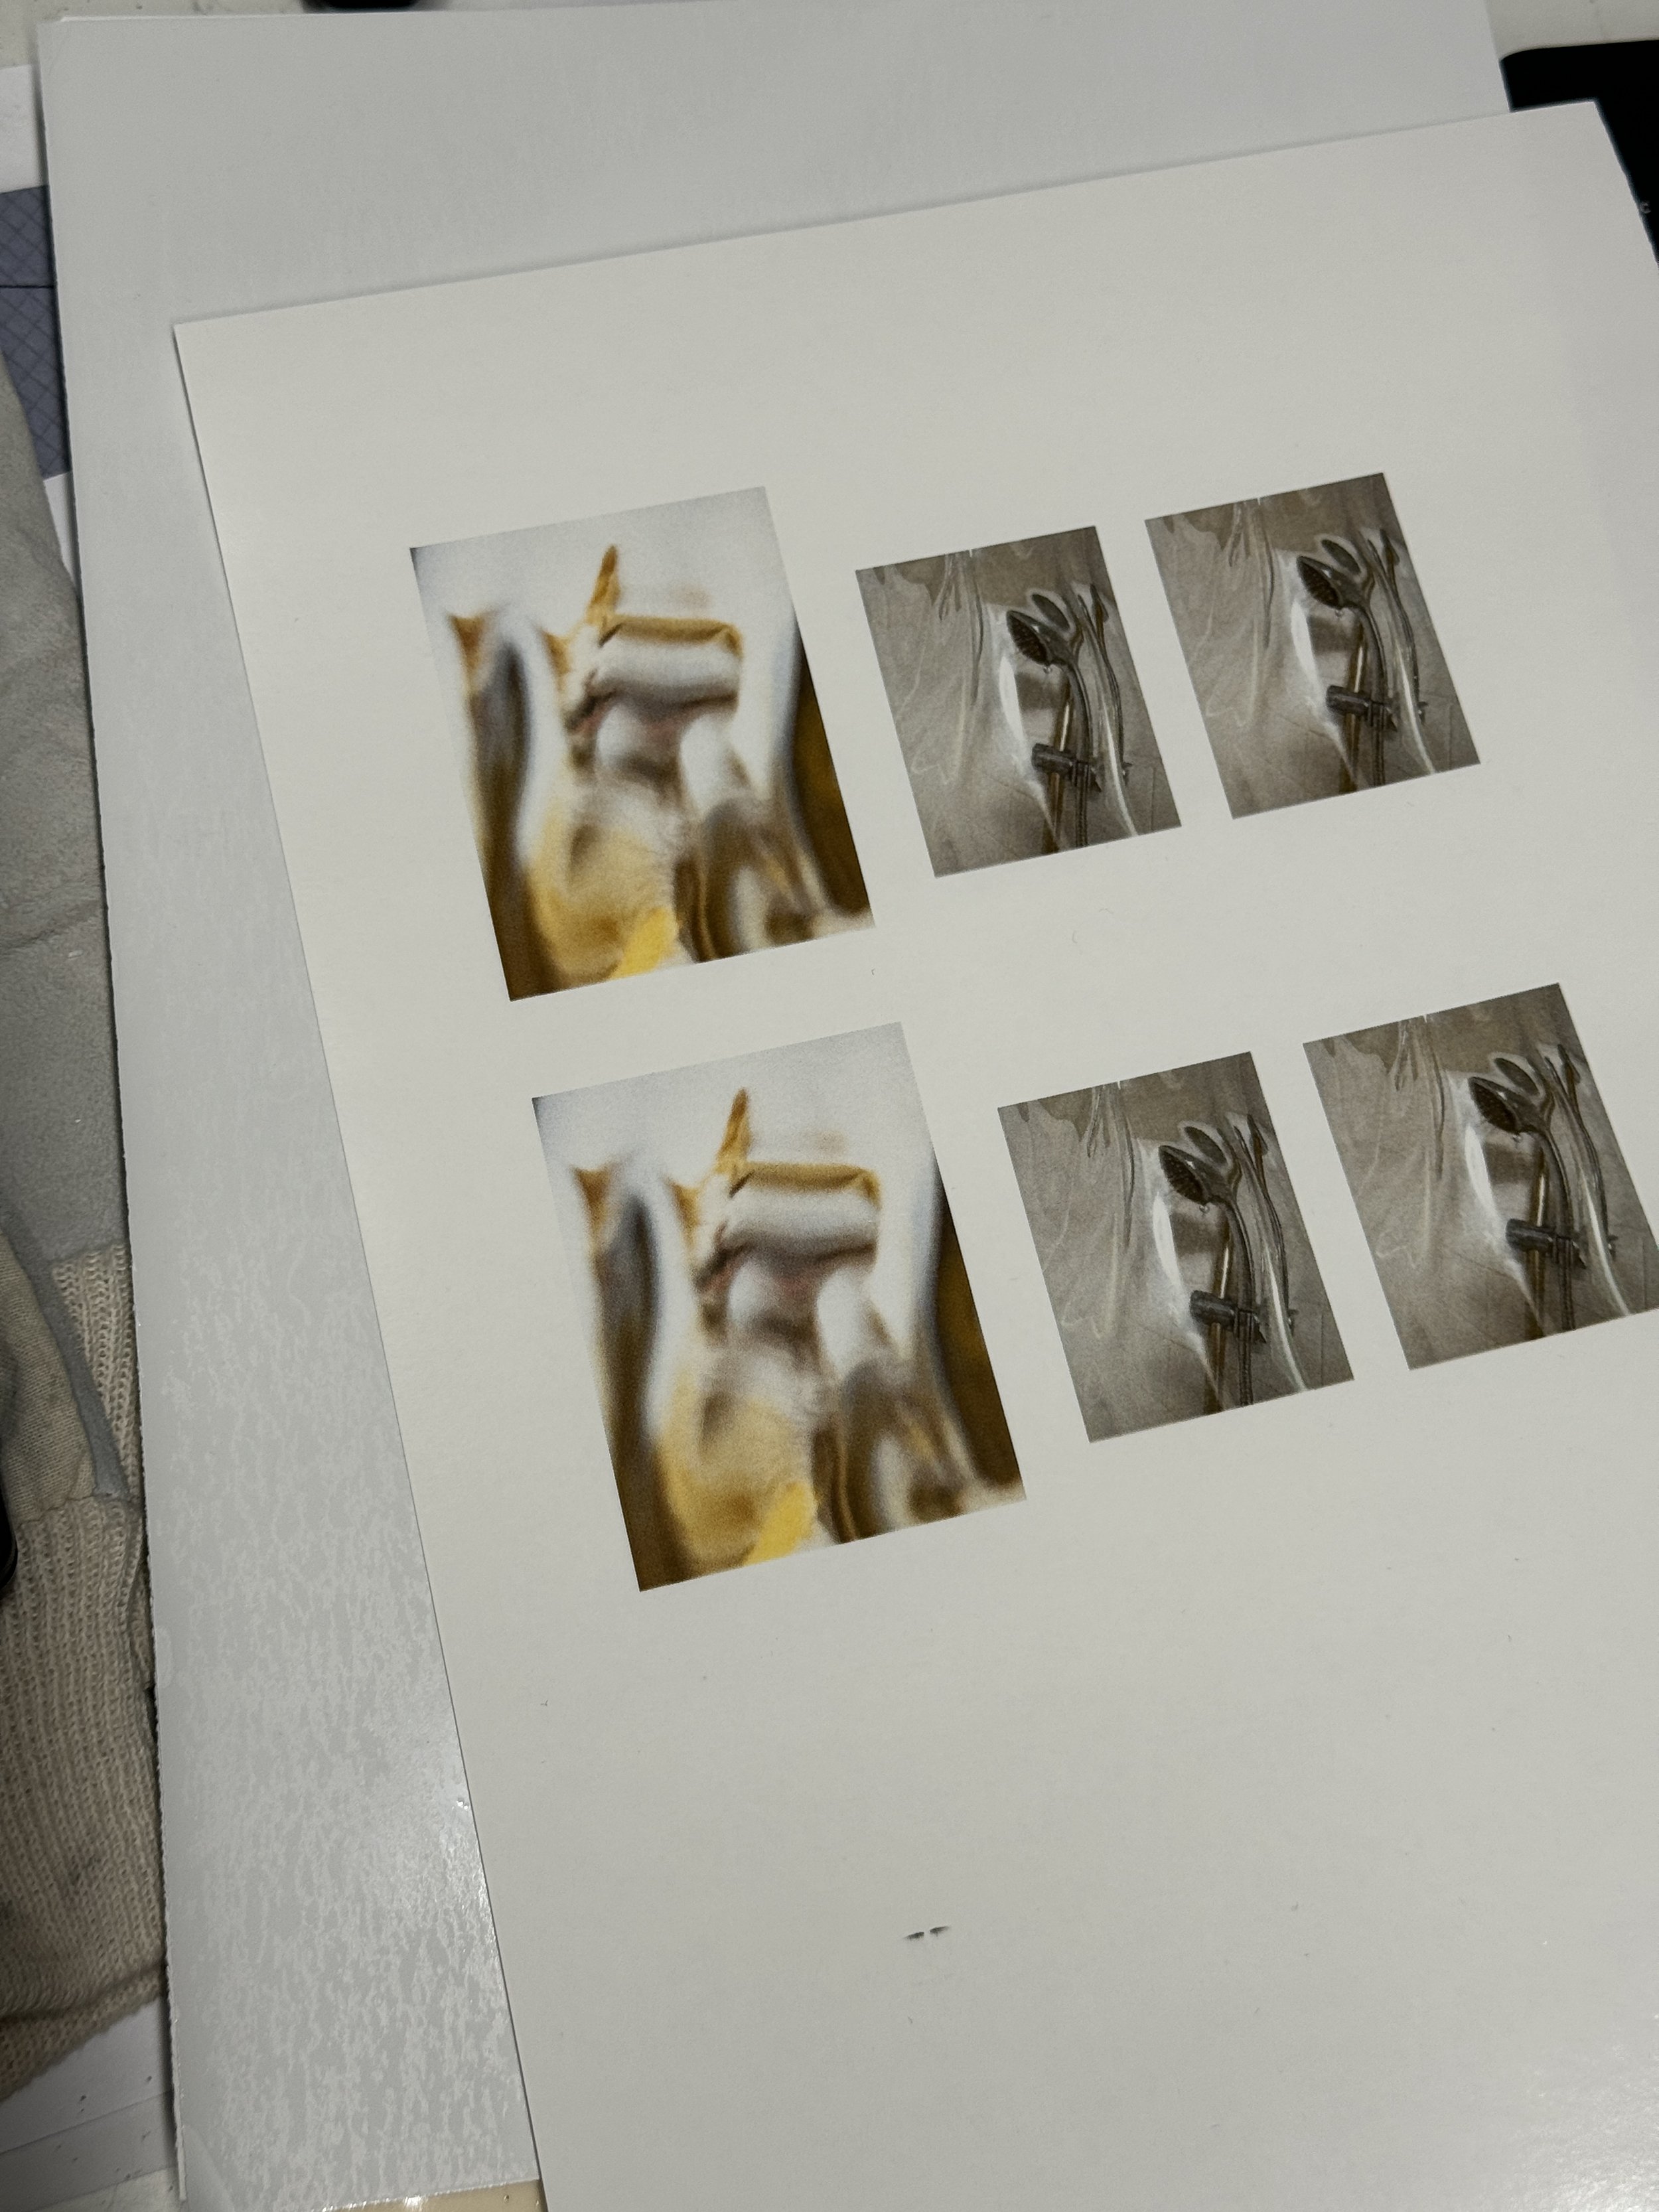
The next step is simply to cut out and soak the design like a tattoo sticker, then remove the surface film, stick it to the surface of the ceramic and squeeze the air out with a squeegee, then remove the transfer paper and the transfer is complete.


Once these are finished, the ceramics are fired at a low temperature and they are done.

I have found that coloured glaze surfaces do not render images as well as white ones, and that a black and white image will be relatively unaffected by the underlying colour. If the glazed surface is uneven, the image will also be noticeably missing, but the texture produced by this condition can also be used to form some specific effects.
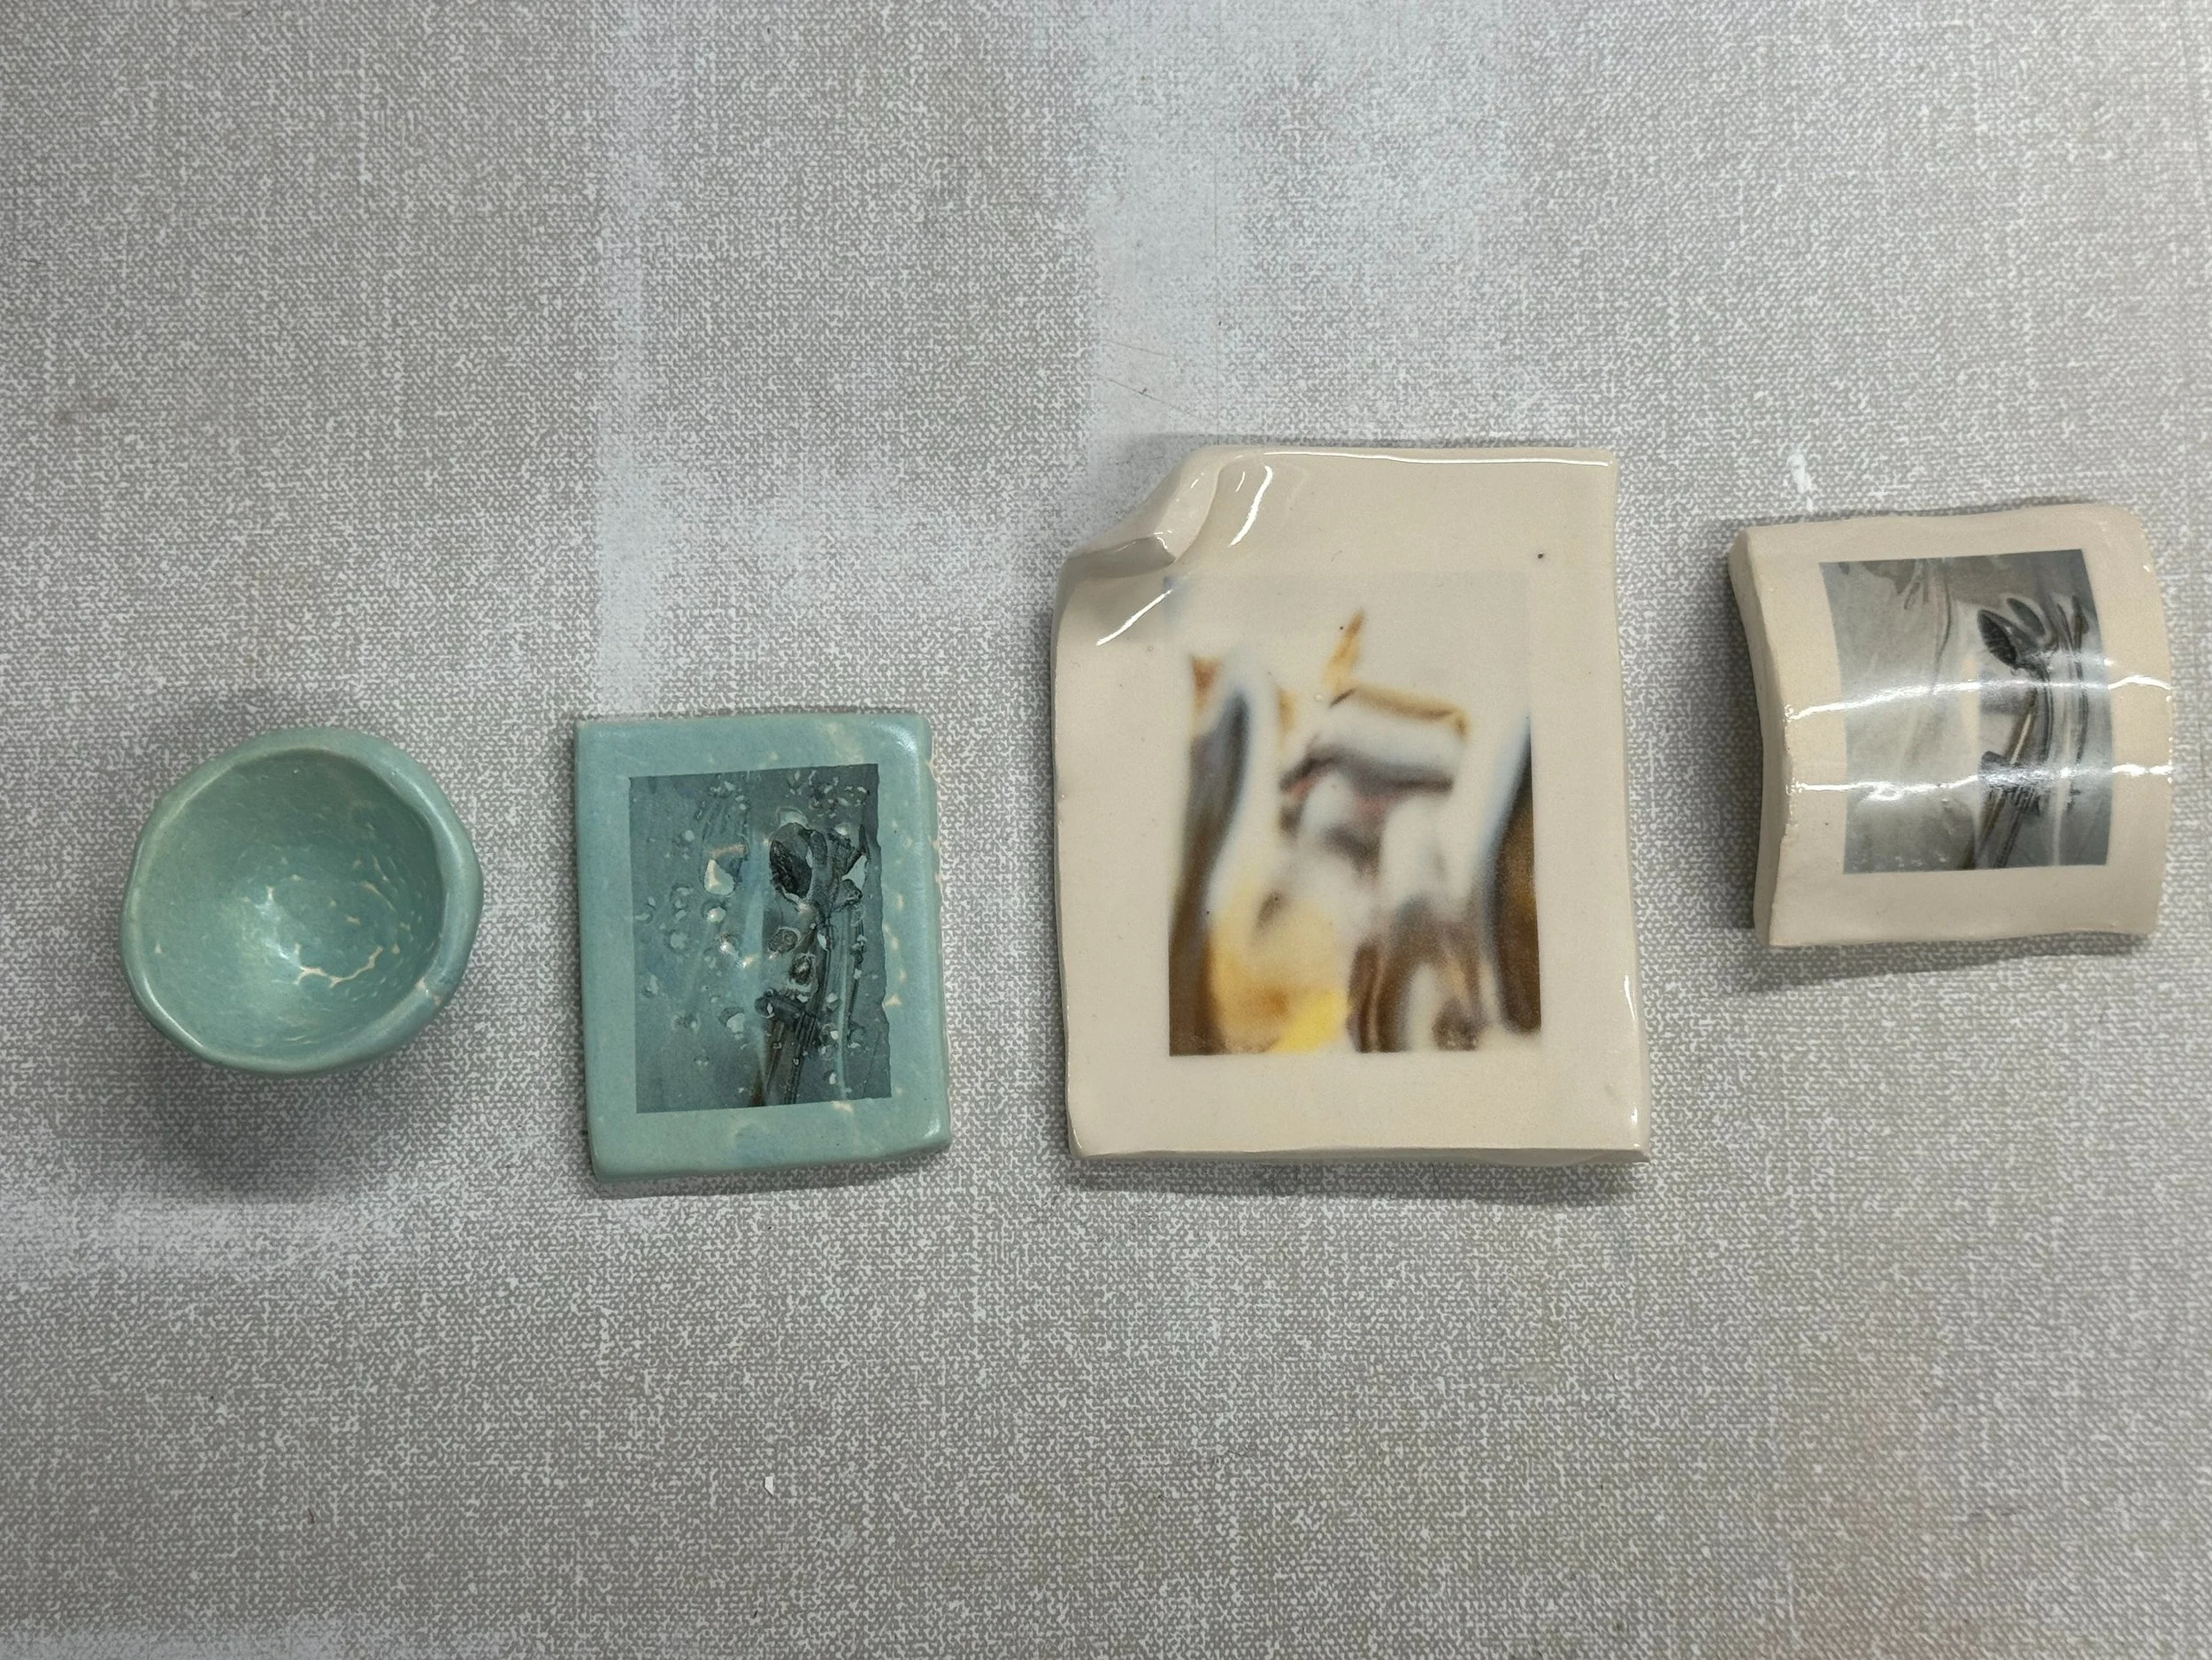
The surface on which the pattern needs to be transferred can be bent in two dimensions, if it is bent in three dimensions it needs to be as flat as possible, otherwise the transferred pattern will be distorted or incomplete.
